🔐️ JWT Learning Kit
Roll your own auth, at least once in your life
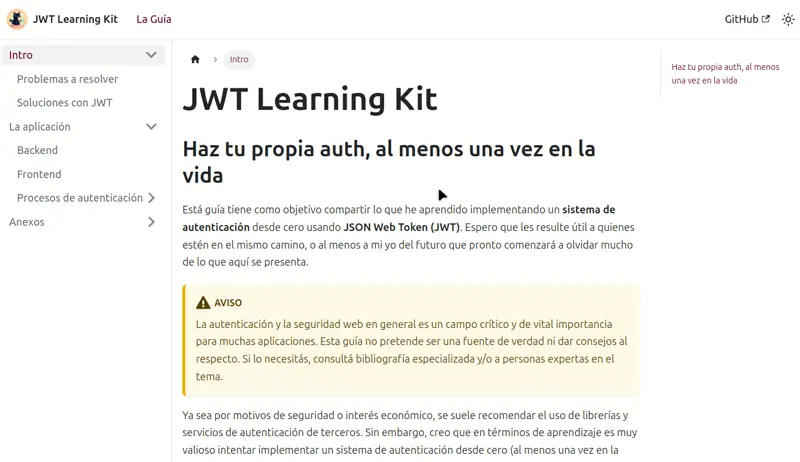
JWT Learning Kit is a guide to learn how to develop from scratch an authentication system in JavaScript using JSON Web Token. It includes the code and the explanation of the processes and concepts necessary for its implementation.
FotoYOP allows you to transform images and create collages simply and quickly. It is also a PWA that can be installed on the phone and used offline. Foto-V is your ideal complement: it converts images into videos by applying effects such as panning or zoom in/out.
🩺️ Health Pro
Telemedicine application
Health Pro is a telemedicine application developed as a team as part of a work simulation by No Country. I was in charge of developing the video call and waiting room modules of the application.
📝 ¡ANOTÁ! & Highlighter
¿Another note taking app?
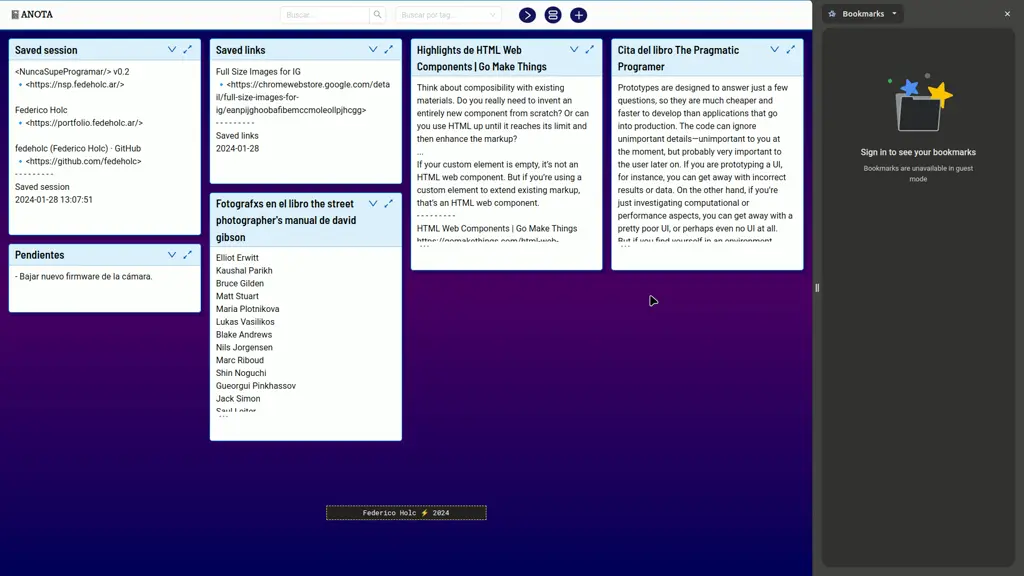
That's right, yet another note-taking application =) But with some particular special features. And the best: a browser extension that allows you to highlight and save texts and links from any web.
>> err0r << 🐈⬛
Blog of notes for learning software development
My blog to organize notes, learn, and share knowledge. Simple, fast, and accessible.
Extension for Chrome browser that allows you to view Instagram images at full resolution and in full screen, without distractions.
Software development academic projects:
- Asistec Web Application: a platform that connects professionals offering technical services with those who need them (course project). Stack: Node, React, Vitest, HTML, CSS and MySQL. Continuous integration/continuous delivery (CI/CD) with GitHub Workflows and deployment with Docker Compose to Amazon Web Services (AWS). View code

- Web application for the administration of an educational institution (course project). Stack: MongoDB, Node, Pug, JavaScript, Vitest, JWT, HTML, CSS. View code

- Desktop application to manage a health clinic (course project). Stack: C#, Visual Studio, MySQL. View code

- Mobile application to manage a sports club (course project). Stack: Kotlin, Android Studio, SQLite. View code

- Argentina Programa v3.0 - Editable resume (course project). Stack: Java, Springboot, Hibernate, MySQL, Angular, HTML, CSS, Bootstrap. View code

JWT Learning Kit - Roll your own auth, at least once in your life
JWT Learning Kit is a guide to learn how to develop from scratch an authentication system in JavaScript using JSON Web Token. It includes the code and the explanation of the processes and concepts necessary for its implementation.
The guide has its own website created with docusaurus: jwtlk.fedeholc.ar
stack
- HTML / CSS
- Vanilla JavaScript
- Node / Express
- SQLite
- Vitest / Playwright
- JSDoc
About the stack
- The frontend is done in vanilla JavaScript (in addition to HTML and CSS), and the backend in Node and Express. I thought that not using a framework was better in terms of learning, and also so that the code can be adapted to any other framework or library. Also thinking about simplicity and accessibility is that I decided not to use TypeScript, but I used JSDoc, to be able to check the typing of the data and document the code. Regarding the database, I used SQLite for its simplicity and for the possibility of also using a SQLite online database with Turso in a very simple way.
What's good about it?
- Whether for security reasons or economic interest, it is usually recommended to use third-party authentication libraries and services. But implementing your own authentication system is very valuable in terms of learning: it forces us to understand how it works together and what is the inherent complexity of the problem we want to solve. In addition, in the process you learn about cookies, sessions, tokens, encryption, hashing, etc.
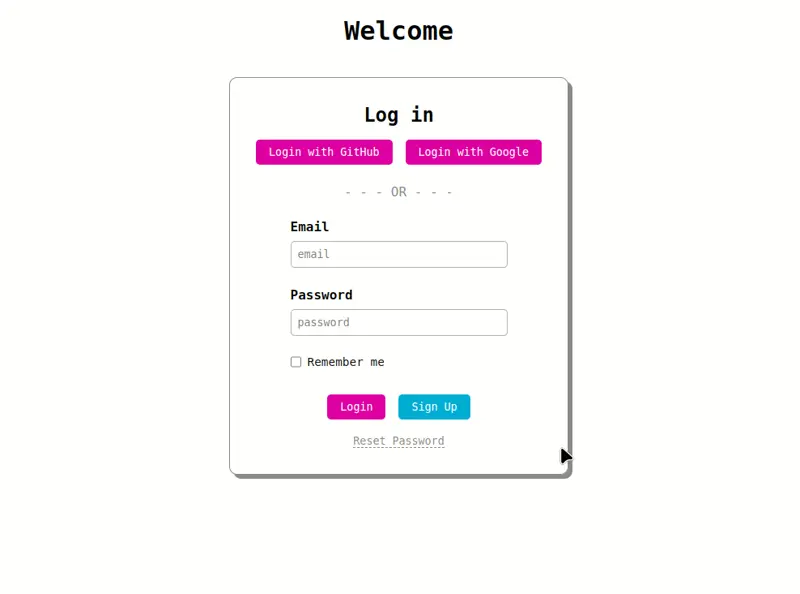
- The code that accompanies the guide is fully functional and includes the different authentication processes, such as registration, login with username and password, login with Google or Github, password reset, etc. It is designed so that anyone who wants to can take it, modify (if necessary) and use it in their own projects.
- In addition to the code, the guide includes explanations of the different processes and concepts necessary to understand how the authentication system works, and how the different functionalities are implemented. In terms of learning, it is not enough to copy and paste code, it is necessary to understand it, and also understand what is the problem that is being tried to solve, what are the possible solutions, what are the advantages and disadvantages of each one, etc.
Learnings and problems along the way
- The realization of this project took me more time than I imagined, but I also learned more than what was in the original plans. Because implementing your own authentication system, and wanting to know the fundamentals of why things should be done in a certain way (to guarantee security, or performance), is much more than learning how JWTs work. Along the way I had to learn about encryption, hashing, cookies, XSS/CSRF attacks and how to prevent them, etc. And I still have some pending issues!
- The development of the app in vanilla JavaScript, led me to have to think well about its design and how to structure the code to make it as modular as possible, both so that it can be reused in other projects and to be able to test it properly. By way of example, for the database I used the adapter design pattern, through which I was able to generate a system in which by simply modifying an environment variable you can change the type of database.
- In terms of testing, the project led me to have to learn to work with module and request mocks (using supertest), as I had not done before. But as important or more was having verified the importance of tests, especially when you want to make modifications to the code without fearing that something will break and not knowing what happened.
- I also found in practice that the last stretch of the project, its fine-tuning to be published, can be the most tortuous. Having almost ready the code and the example application working, I started writing the guide based on some notes I had taken. But it turns out that in order to explain something you have to understand it well, and if the guide is going to be read and used by other people you have to be responsible for what you write. The writing process led me to review and test the code more thoroughly, and that is how I found small faults or details to correct, which further prolonged the first publication of the project, but I could not ignore them. There are probably still errors but none that I have consciously let pass.
fotoYOP & foto-V
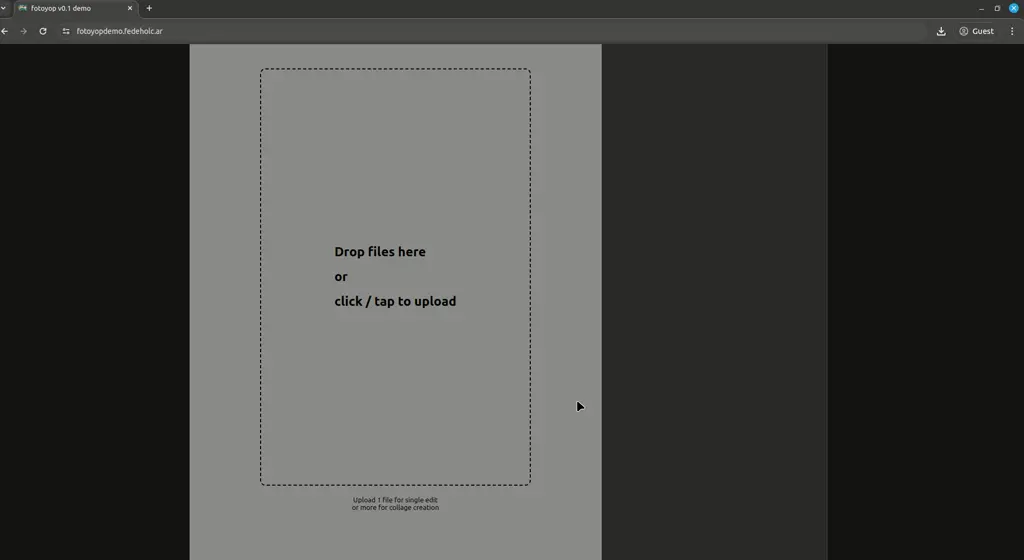
FotoYOP is an application that allows you to transform images in a simple and fast way. It arises from the need to solve two problems. On the one hand, perform certain specific operations on images (for example, to publish them on social networks), and on the other, do it quickly and easily, without the need to register, or upload files to a server, simply drag and drop, edit and download. And even better if it is in a PWA that can also be installed on the phone and used offline.
Foto-V is its ideal complement. It allows us to convert images into videos by applying effects such as panning or zoom in/out (Ken Burns style), and adapt the image to the size we want, so that we can easily publish them on social networks. It also runs completely on the client side.
stack
- HTML / CSS
- Vanilla JavaScript
- Next / React
- TypeScript / JSDoc
- Vitest / Playwright
- PWA
- Canvas API
About the stacks
- In the case of fotoYOP, I began to carry out the first tests and learn about the Canvas API in vanilla JavaScript, but as the code and the idea of making a SPA grew, I decided to continue it in Next, since I was also interested in the idea of that it was a PWA and that could be done relatively easily using the Serwist library available for Next. For foto-V, after having worked with react and next, I went back to deepen the study of some JavaScript and design patterns, so I wanted to use only vanilla JavaScript to test to what extent I could make a SPA without a framework. For the design I also used pure CSS. The rendering of the videos is done with ffmpeg-js, a library that, through WebAssembly, allows you to use ffmpeg in the browser.
What's good about them?
- No registration required. They do not upload files to a server. Everything is done in the browser. FotoYOP is also a PWA, so it can be installed on both a PC and a phone and used offline.
- With fotoYOP you can make transformations such as adding a border, changing the proportions of the canvas, or converting to black and white. Some of them can be defined precisely: for example, when adding a border to the image you can set the color using the hexadecimal code, and the size of the border can be set in pixels. Now (v0.2) it is also possible to create collages of two or more images.
- Photo-V allows you to convert images into videos and configure the effects in detail (such as panning or zoom in/out), establishing their duration, direction, speed, etc. Additionally, you can choose the size of the final video and the number of frames per second at which it will be played.
- Both fotoYOP and foto-V can work with images at their maximum resolution when transforming them and/or generating videos, in order to achieve a result without loss of quality.
FotoYOP: learnings and problems along the way
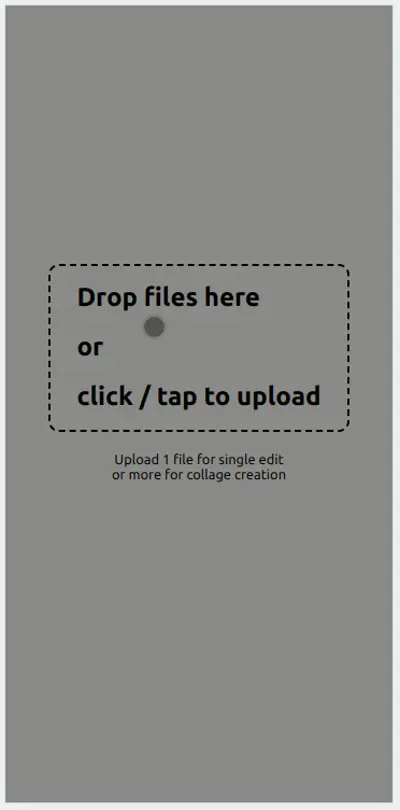
- Something that motivates me to be carrying out this project is that I have been learning different things along the way. Some simple ones like making a drag and drop to load files in the browser, and others more complex and that open up a lot of possibilities to continue exploring such as the use of the Canvas API, and the creation of PWAs.
- The use of a library like serwist allowed me to easily convert the application into a PWA, but in order to really take advantage of all its potential in terms of the user experience, I have a lot to learn about the use of Service Workers, cache management, etc.
- Working with the Canvas API also requires a learning time to solve the problems that arise, for example when working with images of different sizes and formats, making transformations, conversions, etc., and also to be able to optimize the performance of the application. I have been able to solve some performance problems, but there are others that I have not yet, especially when working with large images. The strategy I have used now is to work with images of a size limited to the user's view but record all the necessary transformations to repeat them on the original image when it is going to be downloaded, in order to safeguard the original quality. I would like to continue delving into this at least until I can find the limit of what the Canvas API can offer, which may not be the most appropriate tool for certain operations, and other tools or libraries may have to be used.
- Achieving a responsive design so that the application can be used on both a phone and a PC also had its complications, mainly when it came to always having the image in view of the user, and adapting the size of the canvas to the screen, depending on whether the image was horizontal or vertical and the size of the screen, especially if the size of the browser window was modified. For this I had to use JavaScript to calculate the sizes according to how the screen was modified, or according to how the size of the image was modified, for example when adding a border.
- Update v0.2: incorporating the possibility of creating collages represented a great challenge, not because of the complexity of the operations necessary to create the canvas with the images, but because of the fact of having to refactor the code to be able to incorporate a new feature that requires a different process because it involves multiple images. This new feature also led to having to modify the user interface. Beyond the result that is in sight, it allowed me to learn a lot about how to organize the code so that it is easier to maintain and incorporate new functionalities.
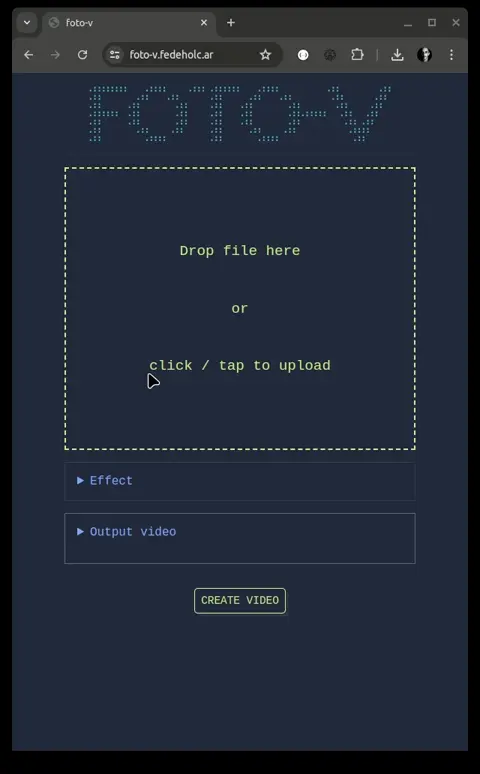
Foto-V: learnings and problems along the way
- One of the main problems I had was that generating the videos is a process that consumes a lot of resources, which led me to have to do something that I was not used to doing in javascript, which is programming thinking about how to manage memory. For example, at one point I found that if I didn't free the memory consumed by the generation of each frame/image, the application consumed all the browser's memory and crashed. So I had to implement a system to generate the videos in parts, freeing the memory of the data that was no longer needed, and then putting everything together at the end.
- The other big difficulty has to do with how to solve the organization of the code and the management of the state and the user interface in an application made in vanilla JavaScript. But it was an intentionally sought-after problem because I wanted to see to what extent it is viable to grow an application in this way and study what design patterns can be used and also try to understand how they work and what solutions JavaScript frameworks provide us. For I have been reading about how to componentize and modularize, strategies for rendering the user interface, design patterns like MVC, flux, pub/sub, observer, proxies, etc. I have started small, implementing modules and functions that can be testable, a global class/object with a singleton pattern to handle a part of the state, and an event bus for communication between some. And although patterns like flux are very interesting to me, for now I have not wanted to implement more than necessary so as not to fall into 'over-engineering' that complicates more than it solves. But I have been left with ideas and knowledge to put into practice as the application grows or in other projects.
Health Pro - Telemedicine application
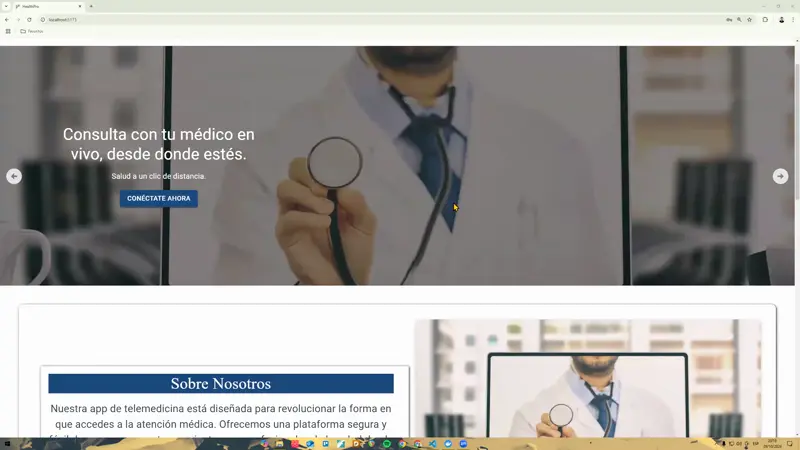
Health Pro is a telemedicine application developed as a team as part of a No Country work simulation. I was in charge of developing the video call and waiting room modules of the application.
stack
- HTML / CSS
- React
- Node
- WebSockets
- WebRTC
About the stack
- The complete application consists of a backend developed in Java, with a PostgreSQL database, and a frontend in React. In particular for the waiting room module and the video call module, I implemented a backend in Node using WebSockets, and in the frontend I used WebRTC for audio and video in real time.
What's good about it?
- Regarding the video call and waiting room modules, the application allows health professionals to attend to their patients remotely, and patients to access the consultation in a simple and fast way.
- The waiting room developed with WebSockets allows professionals to see which patients are connected and waiting to be attended, and select who to attend, differentiating between those who accessed with a scheduled shift or by guard. Thanks to using a call system based on unique links, it is possible to connect from any device without the need to install any additional application.
- Regarding video calls, the application allows you to make audio and video calls in real time using WebRTC (it also allows the connection even when the patient does not have video). If the connection is cut, it is possible to return to the call using the unique link to the same. Both the professional and the patient can see the medical history during communication.
Learnings and problems along the way
- In the technical aspect I learned a lot since I had never worked with WebSockets or with WebRTC. In particular with WebSockets I had to learn to handle real-time communication between the backend and the frontend, and develop two socket servers, one for the management of the waiting room and another to act as a signaling server for communication via WebRTC. Fortunately socket.io provides a simple API to work with WebSockets, and also allows to maintain the connection using http in case WebSockets is not available for any of the peers.
- The implementation of WebRTC was more difficult since there are not many examples with complete and functional code. Fortunately I found the book Programming WebRTC by Karl Stolley that allowed me to solve many problems that arose. In particular I had to learn to handle signaling between peers, and to configure STUN and TURN servers to be able to establish the connection in case the peers are behind a firewall or a NAT.
- The greatest learning came from the non-technical part, since I had to coordinate with other team members to be able to develop the video call and waiting room modules. I learned to work as a team, to coordinate tasks, to communicate my progress and difficulties, to ask for help and to offer it, to solve problems together, to accept criticism and to criticize constructively, to meet deadlines, to discuss and present the work to the customer, etc.
ANOTÁ! (Another Note Taking App) & Highlighter
Yet another note-taking application. But with some features that I would like to have in Google Keep. And the best: it incorporates a browser extension (highlighter) that allows you to highlight and save texts and links from any web.
stack
- React / JavaScript
- HTML / CSS
Node.js / Express➔ Next.jsMySQL➔ SQLite- Supabase Auth
- WebExtension API
- JSDoc
What's good about it?
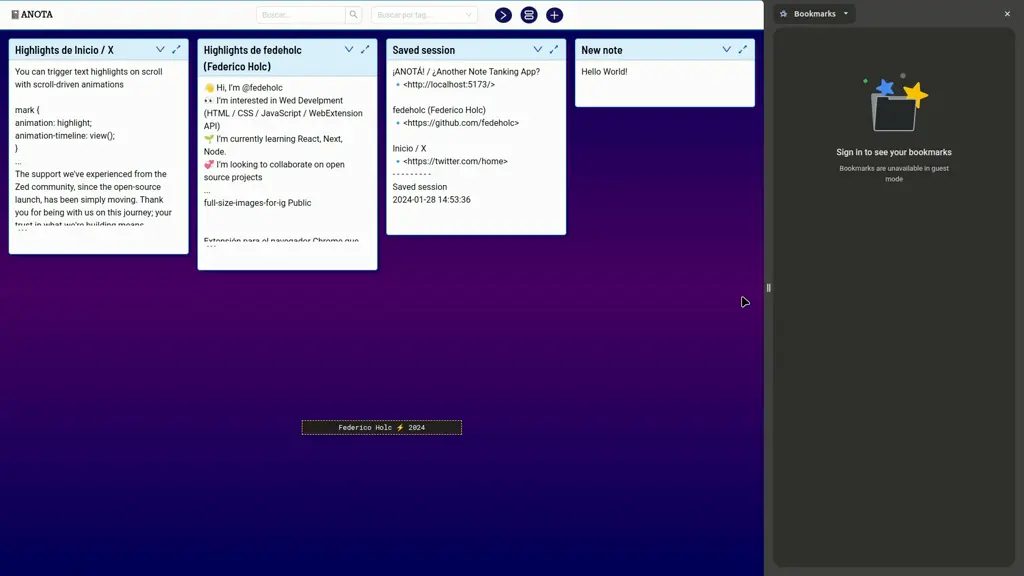
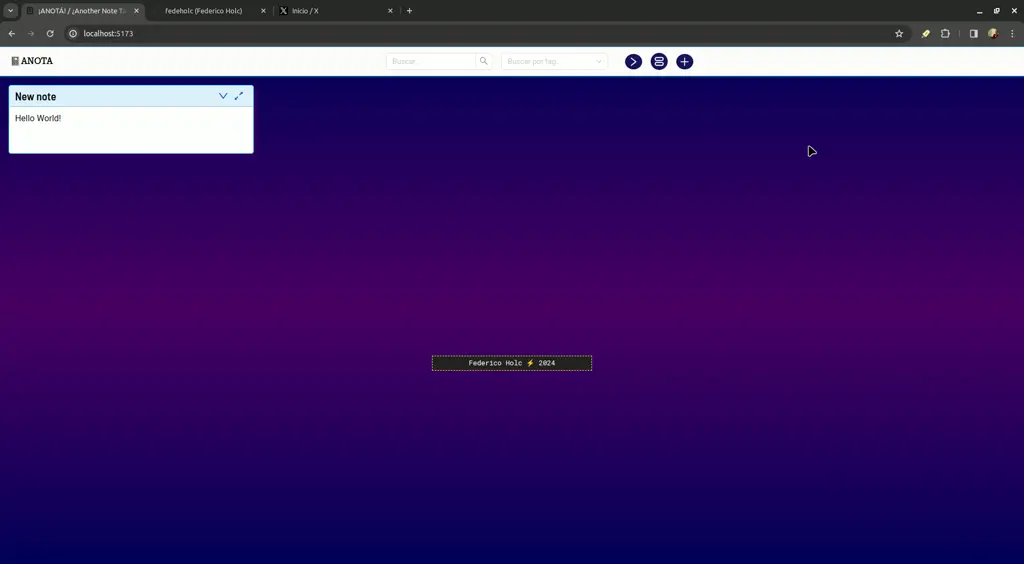
- It allows you to create, save and edit notes from the application. The edition can be done from where the note is seen, without having to open another window.
- The notes can be viewed in list mode or in mosaic mode, with the possibility of showing the title and content, or only the title, to have more notes on the screen.
- Each note can have multiple tags, which can be used as filters to see only some of them. Notes can also be searched by text in their title or content.
- The browser extension (Highlighter) allows you to simply make a text selection on any web, the text is highlighted and saved. Then all the selected text fragments from the same URL can be sent to ANOTA and/or downloaded in a text file. You can also generate notes by saving the web link, or the entire session of open links in the browser.
About the stack
- Since I was studying React, it was an opportunity to put into practice the use of hooks such as useContext and useReducer to manage the state of the application, as well as useRef to manipulate the DOM directly.
- For the backend I used Node and Express because of how easy it is to create a REST API with endpoints, and that connects to a database. I implemented one in MySQL without using an ORM to learn more about the operation of relational databases. Update: due to the impossibility to continue hosting the database in PlanetScale, I took the opportunity to redo the backend using Next.js and a SQLite database.
- I used CSS modules by components, together with the BEM methodology, with the intention of having clear and maintainable CSS code, separated from the application logic.
- The extension is in pure HTML, CSS, and JavaScript. But I decided to incorporate JSDoc to learn how to use it, have better documented code, and also be able to have type check through the typescript language server.
Learnings and problems along the way
- Displaying an indicator in the notes that had more text than was visible on the screen (without showing the scroll bars), turned out to be a problem since until then I had not used React to directly access the DOM using useRef. Here I had to do it, since the solution that occurred to me was to compare if there was a difference between the `scrollHeight` and the `clientHeight` of the note container and thus detect if there was an overflow of the text, and be able to show the indicator when appropriate.
- Other difficulties were the creation of a layout to display the notes in mosaic mode, which cannot yet be done natively in CSS. As well as the implementation of a text editor to create and modify the notes, since the HTML element `contenteditable` is not very versatile. In both cases, with the intention of quickly putting the application into operation, I chose to use libraries, but I would like to be able to study those problems in depth in order to implement my own solutions since they are important aspects of the project.
- As for the browser extension, it was not easy at all, since it was recently changed to manifest V3 (which entails numerous modifications in the APIs), and there are not many updated materials and code examples. But it was worth the effort because working on an application that has to directly handle the DOM forced me to reinforce the fundamentals of JavaScript. It even led me to study about data structures to be able to solve a problem that was to traverse the DOM tree from the starting node of the text selection to the final node, in order to obtain the text, highlight it, etc.
- Being this the largest application I have made so far, it became even more evident to me the importance of dedicating time to have readable, structured, documented code, etc., as well as having reusable and organized components. It is something I have to continue working on and improving since it is essential to be able to maintain the application and incorporate new functionalities.
>> err0r << Blog of notes to learn software development
Public learning blog, to organize my notes and share knowledge.
stack
- Next.js / React / JavaScript
- HTML / CSS
- Markdown
- Git / GitHub
Why a blog?
Something I learned as a teacher is that along with practice, trying to teach or explain something (and if it is in writing better) is an excellent way to learn it. Also important is the collective learning that is generated with the exchange. Hence the creation of a blog, which is an excellent technology for the dissemination of knowledge: unlike what circulates on closed platforms, its contents can be indexed by search engines, shared on social networks, and be available to those who need it.

What's good about it?
- Update v0.3: now you can choose between different themes for the blog (which will remember your preference), and there is a new search engine with fuzzy search to find posts by title or content.
- Through Next.js the blog is generated as a server-side static site, which makes it fast, and easy to index by search engines. It is also easy to publish, since being hosted on Vercel, the deploy is done automatically every time the repository is updated on GitHub.
- Adding new entries to the blog is simple: the content of the post is written in a file in Markdown format, it is uploaded to a folder within the project repository, and it is automatically published (unless it is marked as a draft).
- Posts can be marked as featured to appear in a featured section of the home page.
- Using the Markdown format together with the remark.js library, highlighted format can be given to the code blocks of the posts.
- Posts can be filtered by tags using the search engine or the list of them.
- It is responsive and adapts so that it can be read from any device.

Learnings and problems along the way
- Until now I had only programmed SPAs with client-side rendering, so it took me a while to understand the variants that exist to do it on the server side (or in a combined way), and how to work in that way with Next, integrating frontend and backend in a single full stack application.
- Shortly after the blog was published, Next released a new version incorporating React Server Components, and I made the mistake of going after the novelty, since the libraries for styling the Markdown did not work in the new version. I had to go back to the previous one, but with the lesson learned about the importance of using proven and consolidated technologies. Update December 2023: I was finally able to solve the problem of dependencies and update to the latest version of Next.
- Publishing the blog on my own domain also led me to learn how to register it, how to manage the DNS, and the necessary configurations so that it can be indexed by search engines.
Full Size Images for IG
It is a very simple extension for the Chrome browser that allows you to view Instagram photos at full resolution.
stack
- JavaScript
- HTML / CSS
- WebExtension API
- Git / GitHub
What is it for?
Those of us who enjoy seeing and taking photos, want to be able to appreciate them at full resolution and in full screen. The extension seeks to make that possible, in a simple way, and without having to resort to another platform.
What's good about it?
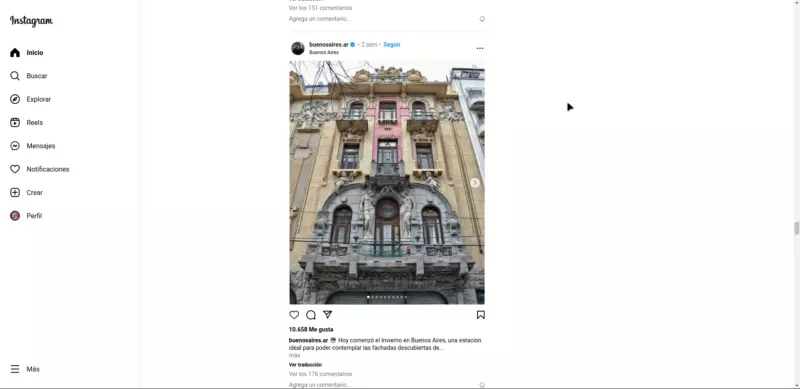
- By having the extension activated, in the upper right corner of each photo appears an icon of a magnifying glass. By clicking on it, the image opens to full size and without other distractions. Then by clicking anywhere on the screen you return to the original page and position.
- Some ideas to implement in the future: that you can choose whether to open the image in a new tab or in the same one, and whether or not to use the browser's full screen mode; that you can generate a gallery of images to see one after another in full screen.

Problems along the way and learnings
- The main technical difficulty I encountered is that since Instagram is a dynamic website, as new elements appear, it is necessary to add listeners and icons. But I didn't find an event that fires when that happens. The solution I implemented is to do it with the mouseMove event, which is effective but not very efficient because it involves reading the entire structure of the web many more times than necessary. I have to look for a more efficient solution for this problem (if you know how to do it, please write me!)
- Another issue that I still have to investigate is how to port the extension to Firefox, Safari and Edge, so as not to exclude those who use any other of the main browsers.
- There was also a non-technical problem that I had not taken into account: after several weeks of the extension being published, when it already had more than a hundred users, I received a notice that it was being removed from the chrome web store of the United States for using the word Instagram in the name and because the icon included the brand's colors. So I had to change the name and logo, and republish it.
- Making a browser extension was a good way for me to practice HTML, CSS and JavaScript without frameworks in between, learn about DOM manipulation and see how they structure this type of applications. I now think it would be interesting to program an alert that warns me when changes are made to the site's DOM that cause the extension to stop working.
- Unfortunately there is not so much content on the web to learn how to develop extensions, so I greatly value the preparation of good documentation with clear explanations and code examples like the one Chrome has of its API.
- It is very motivating to be able to create something useful, that works, and that can be shared with other people. This project has given me the desire and ideas to make lots of extensions.